
| Drive Letter: | Q: | ||
| Path: | \\Dorado\Halo | ||
| User Name: | Flintstone | ||
From the Start menu, open the file manager (called Windows Explorer).
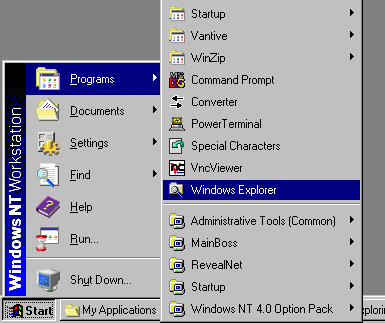
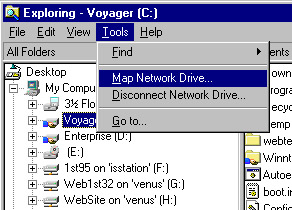
When the file manager opens, choose "Map a network drive" from the Tools menu.
Click the arrow on the drop down list and scroll down until you find where it says "Q" - click it. Then in the Path, enter "\\Dorado\Halo".
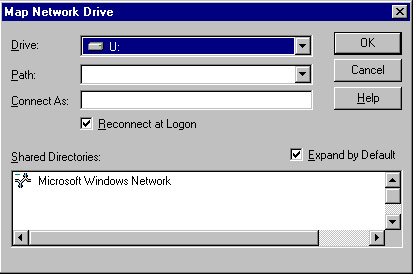
Depending on your operating system, you may or may not have a field called "Connect As". If you do, enter "Flintstone" in the field. Make sure the checkbox labed Reconnect at login is checked on. When ready, click the OK button.
You may be prompted to enter a password. If so, enter the password you are normally assigned, or the password you are told to use in order to connect to this drive. In a moment, the file manager will refresh, and the network drive will appear in the left pane. Just scroll down to see it.
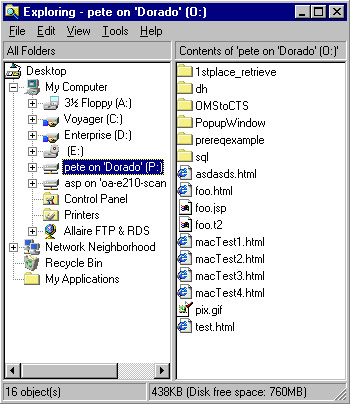
That's it! You have just finished mapping a drive. You are free to use the new drive as you desire (or as instructed).
| back to top of page |